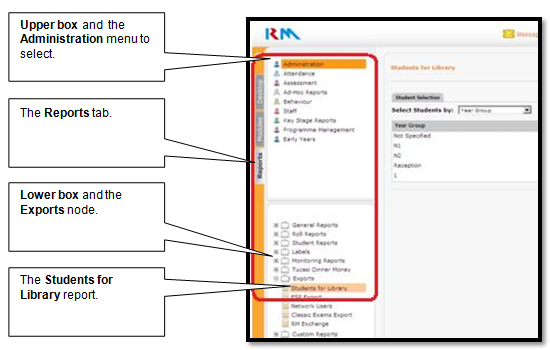
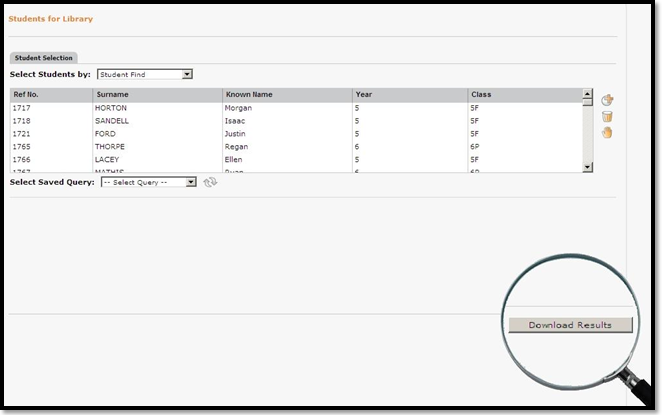
The instructions below explain how to create a CSV file from RM Integris G2, for importing into the library system. You should find that there is a pre-defined report available that can be imported into the library system. However, as MLS are unable to manage changes in this MIS you may find that you need to make changes to your csv file once it has been exported. Extra steps are included at the end of this page should you need them.
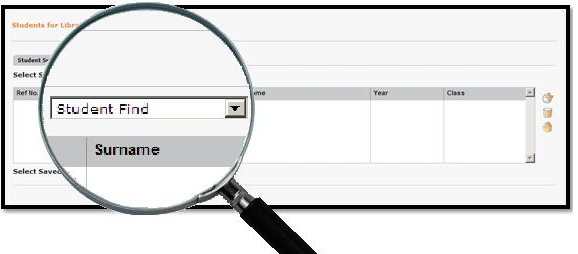
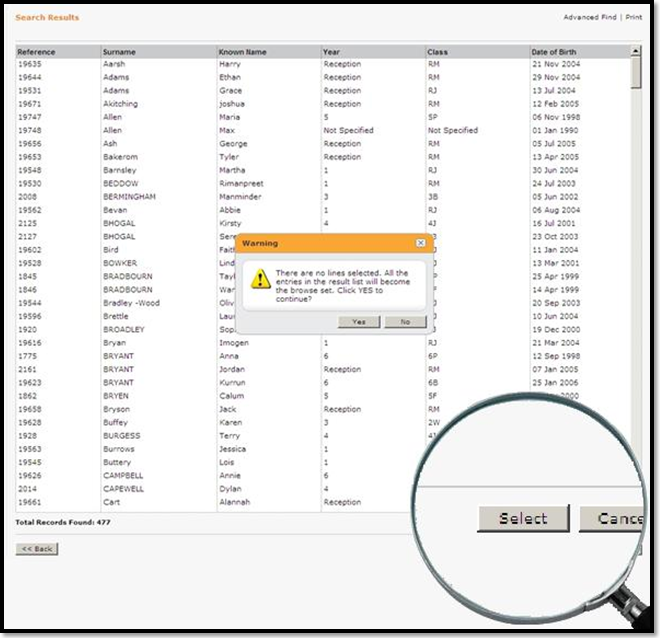
 icon to be taken to the General Search window.
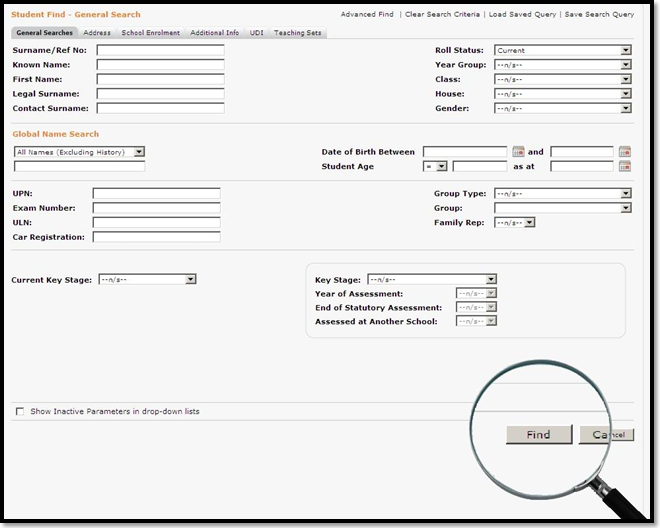

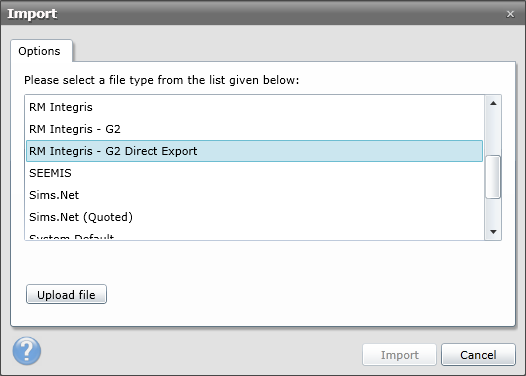
Should this fail, you may need to alter the column headers as described below.
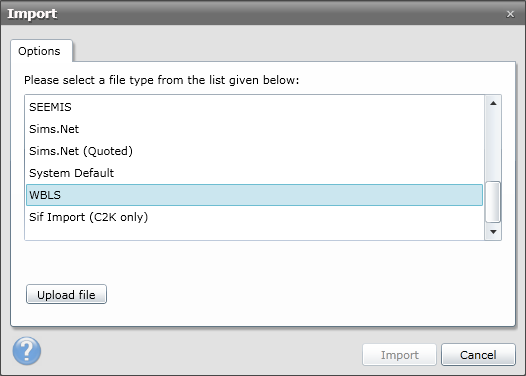
If you have tried importing with the RM Integris - G2 Direct Export option and it has failed, you may need to change the column headers in the csv and use a different option when importing. When altering the headers, it is important that you do not use Excel as by default this will strip out any quotation marks. Use Notepad instead.
The instructions below explain how to alter the column headers.
| RMG2 Column Header | Change to |
|---|---|
| Student Date of Birth | DateOfBirth |
| Year Group | YearGroup |
| Student Reference | ManagementSystemID |
| Class | TutorGroup |
| Student Sex (M - Male, F - Female) | Gender |
| Name: Surname | Surname |
| Name: Forename | Forename |
| Name: Known Name | Forename |
| Student Address - Line 1 | Address1 |
| Student Address - Line 2 | Address2 |
| Student Address - Line 3 | Address3 |
| Student Address - Line 4 | Address4 |
| Student Address - Town | Address5 |
| Student Address - Post Code | Postcode |
| Student Email Address |