Student Import


Click on the link below for instructions on creating a CSV of your students. This CSV will be used to import new students and update existing ones in the library system. Once the CSV has been generated, return to this page and continue.

Creating a CSV from iSAMS

These instructions cover the process needed to export the pupil data from the iSAMS system and then how to format the resulting file so that the library system can import it successfully.
Creating the CSV
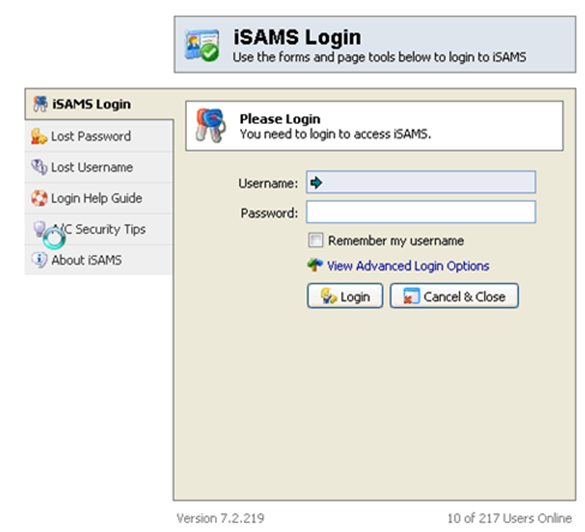
- To begin, open up iSAMS and log into the system.
- Once logged in, select Student Management / Pupil Management from the left hand side, then click on Student Manager or Pupil Manager.
- By default the Custom Pupil Search screen will now be displayed. Leaving all the fields as they are already set click on the Save & Search button in the bottom right:
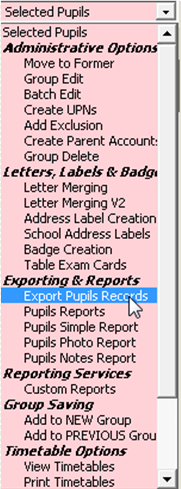
- Once the search has completed select P/S All from the dropdown and tick the Pupil's Name (Pre Name) tick box.
- The dropdown menu (pictured below) on the right hand side of the screen will now be enabled. Select the Exporting & Reporting - Export Pupil Records option
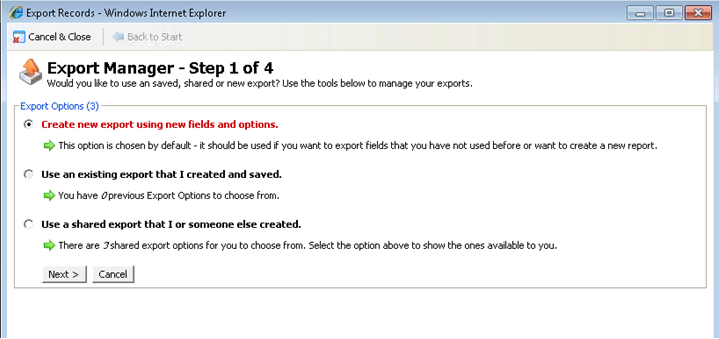
- Make sure Create new export using new fields and options is selected and then click on Next
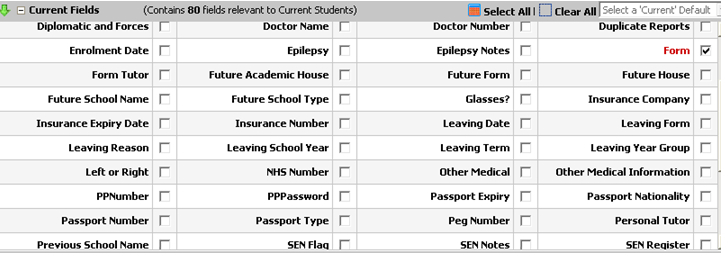
- On the field selection screen under Core Data Fields, un-tick 1 of either Preferred Name or Forename (Firstname) (depending on which is required to be imported into the library system) and then tick Gender and Date of Birth .
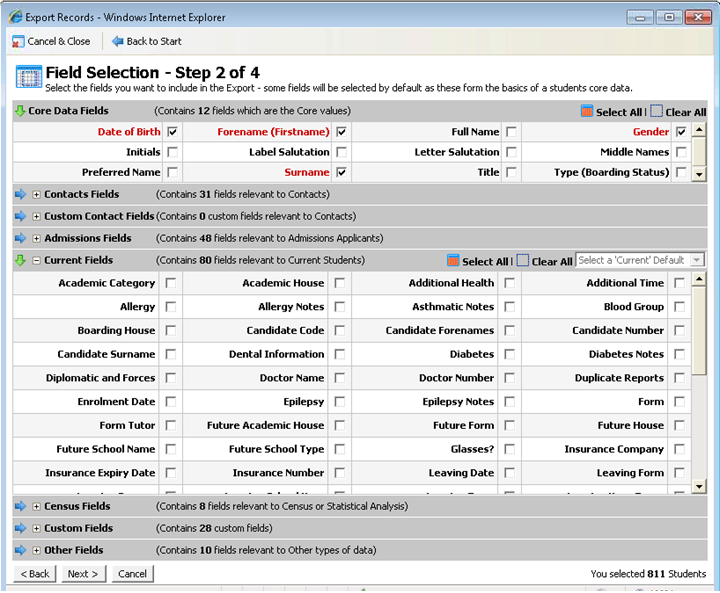
- From Current Fields, tick the boxes for Form and Year Group (NC).
- Under Other Fields, tick School ID
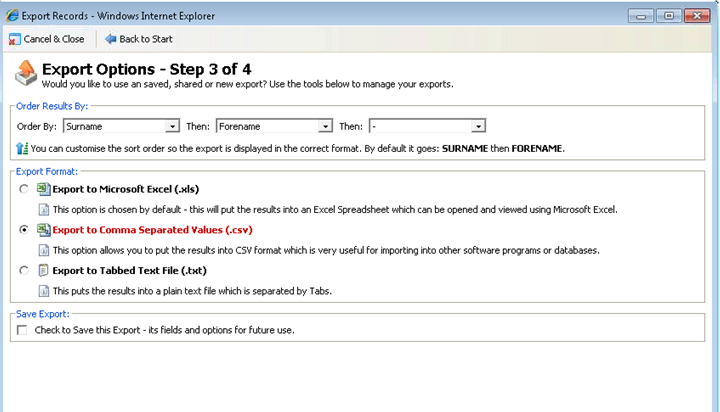
- On the Export Options - Step 3 of 4 screen select Export to Comma Separated Values (.csv) then click on Export File.
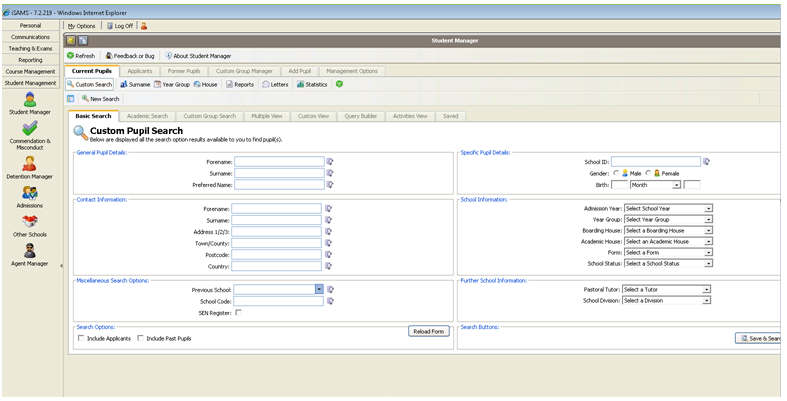
This will perform a search that returns all students.

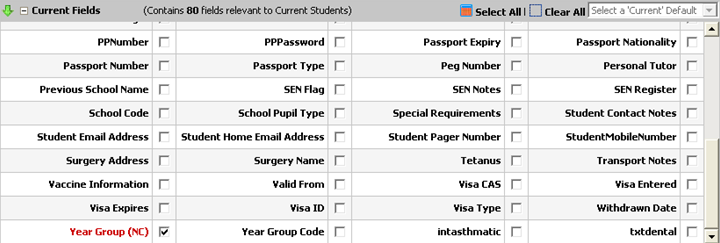

Once the fields have been selected, click next.
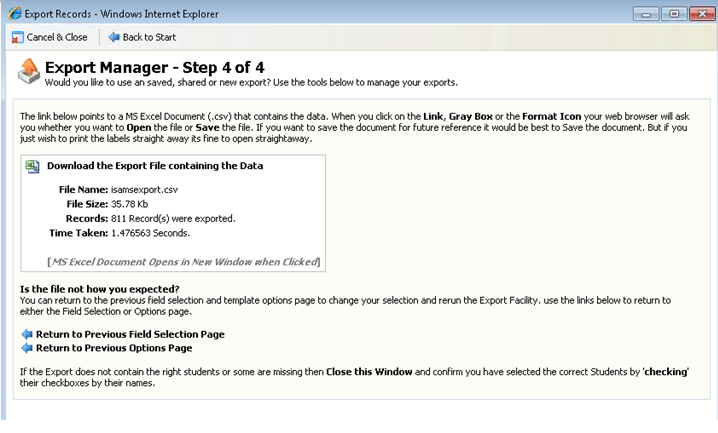
The iSAMS system will now generate the CSV file and display a link. Click on the link and select Save as then save the file to the computer.
Amending the Column Headers
Once the file has been exported, some of the field headers need to be changed so that the library system knows how to read the CSV.
- Open the CSV file with Notepad or an equivalent text editor.
- Change the relevant column headers so that they match the ones listed in the below table.
- When the necessary columns have been renamed, the first row of the CSV will look something like this:
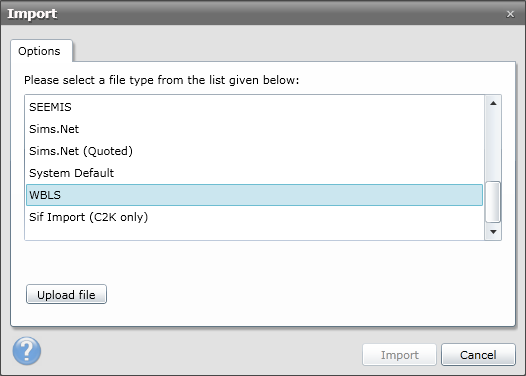
- Now you are ready to move on to the next stage. Please note that when you come to import the file, you must choose the WBLS import option if you are creating the CSV using the above guide.
| Column Header | Description |
|---|---|
| ManagementSystemID | A unique identifier for the pupil |
| Surname | Family name |
| Forename | First name |
| Gender | Their gender |
| DateOfBirth | Date of birth |
| YearGroup | Year Group |
| TutorGroup | Tutor Group / Registration Group / Class |
ManagementSystemID,Surname,Forename,Gender,DateOfBirth,YearGroup,TutorGroup
Subsequent lines will include the associated data.
