The instructions below explain how to create a CSV file from Progresso for importing into the library system.
Exporting a list as a CSV
Data from a ‘view’ in Progresso™ can be exported to .CSV format for importing into the library system. The instructions below explain the process of exporting data from this system
- Firstly, choose the People tab and then select either a list of Learners or Staff members. For a list of students, click Learners.

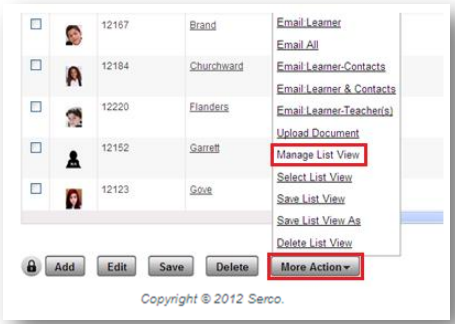
- At the bottom of the page, click More Actions followed by Manage List View as shown below
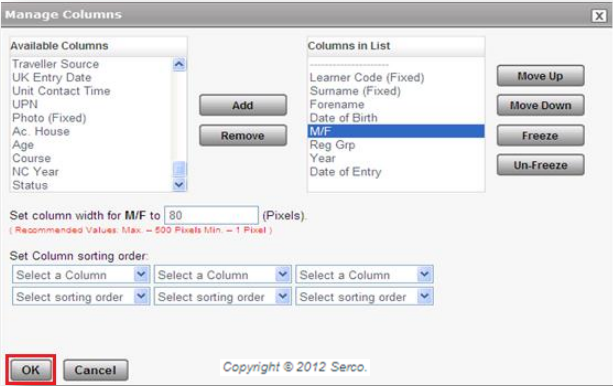
This opens a window where we can customise the columns on the Learner list. Choose from the available columns on the left hand side and click Add which will move them to the Columns in List on the right.
Ensure that only the following fields are added to the Columns in List section:
- Learner Code
- Surname
- Forename
- Date of Birth
- M/F
- Reg Grp
- Year
- Select OK once all columns have been added to the Columns in List section.
The list can then be saved for convenience so it can be selected when required. Once saved, the list will then be displayed.
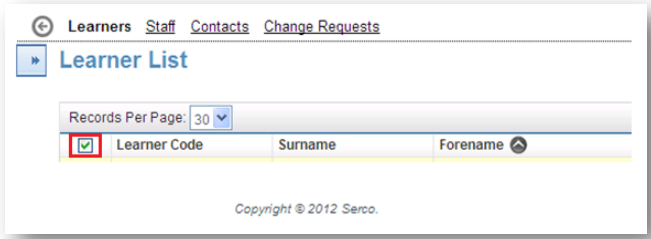
- The next stage is to Export the data from the list view. Click the Select All tick box at the top of the
grid to select all the records as shown below.
At the bottom of the screen, click More Actions and select Export All as shown below.
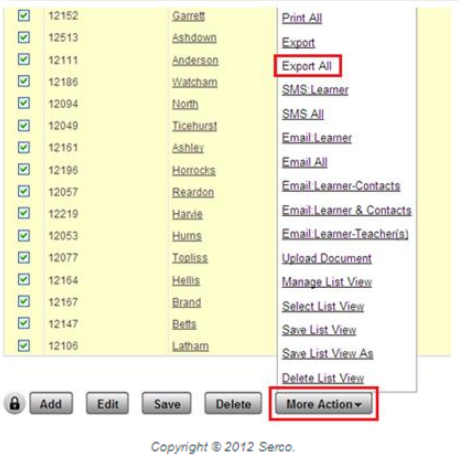
Choose the option to export to a CSV file and the data will then be exported in this format. The application associated with a CSV file (normally Microsoft Excel) will then be opened displaying the exported data.
Preparing the CSV file for Import
The next step is to amend the CSV file and format it to make it suitable for importing the program. This section explains this process.
- Opening the file with Notepad, ensure that the column headers are now labelled in accordance with the below.
| Progresso Column Header |
Change to |
| Forename |
Forename |
| Date of Birth |
DateofBirth |
| Reg Grp |
TutorGroup |
| Learner Code |
ManagementSystemID |
| Year |
YearGroup |
| M/F |
Gender |
| Surname |
Surname |
- Save the file in a CSV format.
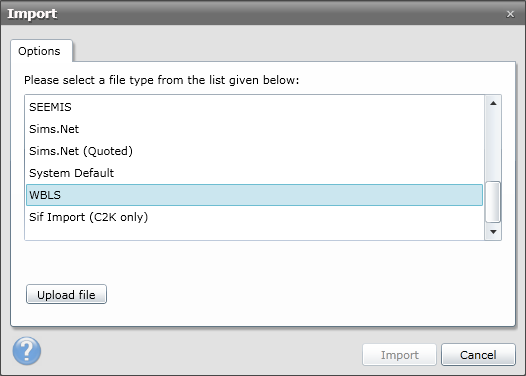
- Now you are ready to move on to the next stage. Please note that when you come to import the file, you must choose the WBLS import option if you are creating the CSV using the above guide.
